Categories
Basic functionality
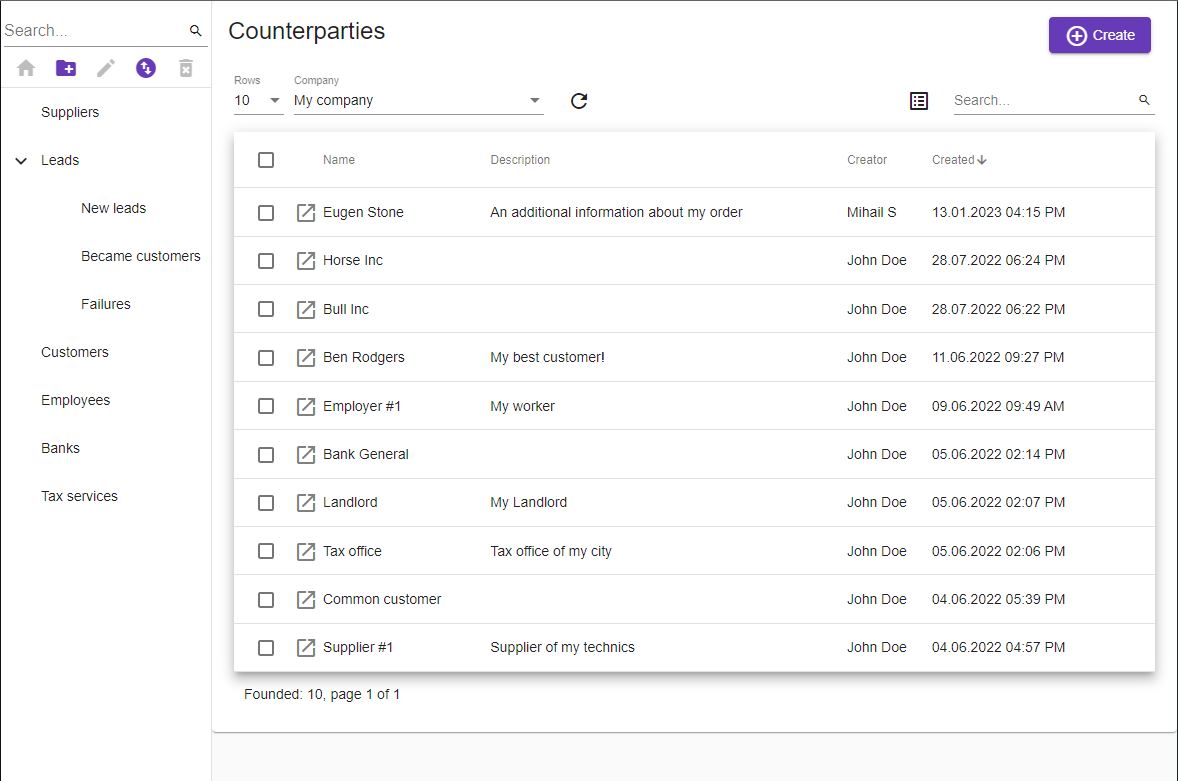
In the left side of some document menus you can see a categories bar. For example, in Files, or Counerparties documents menu. Categories are needed to filter the documents list more easily. One document can be related to one or more categories. To see the documents in a category - just click on it.
How to relate the document to a category? Open the document card, and select a category, then click Save, and close this document.
To go to the root category - you should clear categories filter 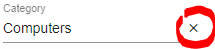 , or click on the Home button
  .
.
Categories that you see in the Files or Counterparties documents, were created automatically. But what to do if you want to have your own customized category?
If you want to create a new root category - click the Home button , and then the New category button  . If you want to create subcategory - first, you should select its parent category, and then click the New category button . Enter the name of your category, and click this button
  . The Category will be created.
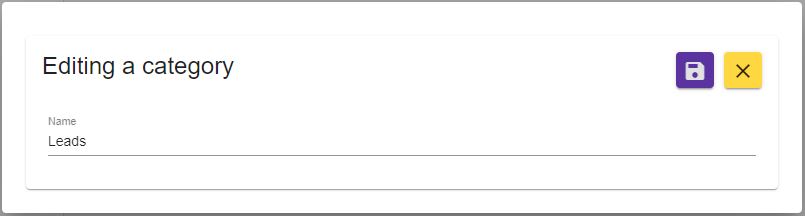
To edit category’s name click to category, and then click the Edit category button  . Enter your category new name and click Save.
What to do if you need to change the order of categories? If you want to change main categories list - click the Home button, and then Change order button  . If you want to change order of subcategories - you should select their parent category, and then click the Change order button . Then drag the category and drop in to the new place.

Pay attention - you can’t change the order of categories, if there is only one category in the list - then this button won’t be active.
To delete the category - select the category you want to delete, and click on the Trash button  . Сonfirm your action. After deleting the category, all the documents that were related to this category won’t be deleted. They just lose their relation to this category.
Categories of Products and Services
This type of categories has some more functionality. The example of product and service categories bar is on the picture below:
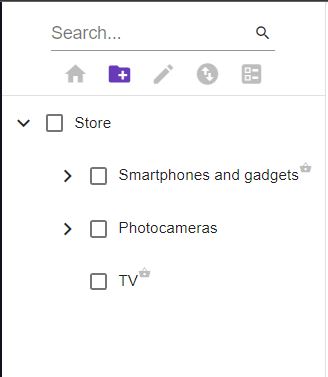
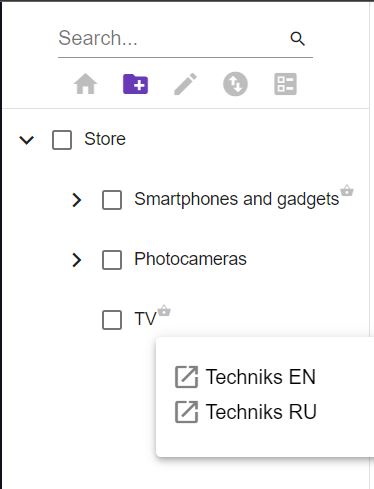
If you have the online store(s), in the tree of categories the online store categories are marked with basket icon like this: 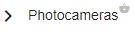
If you want to know in which online stores this category is represented, click on the basket icon. A list of stores containing this category and all related products will appear:
Batch editing
As you can see, the product and service categories have a checkboxes for batch editing. The selection/unselection of a parent category makes a select/unselect all of its child categories.
There are currently two types of batch editing of categories available:
- Assigning and deleting online stores (if you have an online store)
- Delete categories
Assigning and deleting online stores
Select the desired categories. The button Actions with category groups  will be active. Click on it, and select Edit online stores. The window will opened:
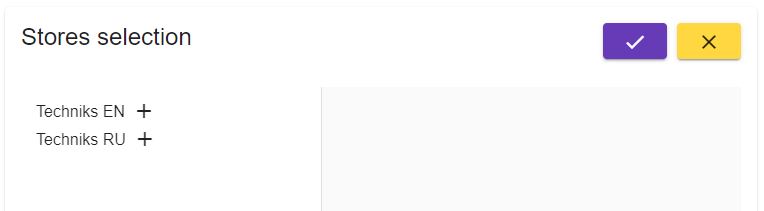
You can select desired stores by click ![]() icon.
icon.
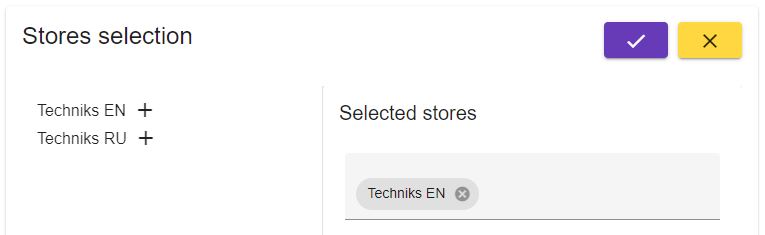
Selected stores will dispalyed in the Selected stores part of this window:
To add one or more stores:
1. Select the stores than you want to add to the already existed stores. 2. Click Select button 3. In the popup dialog, click Yes button to save the already existed stores.
To change stores:
1. Select the stores you want to change existing stores to. 2. Click Select button 3. In the popup dialog, click No button to not save the already existed stores.
To delete some stores:
1. Select all currently available stores except the one you want to delete. 2. Click Select button 3. In the popup dialog, click No button.
To delete all stores:
1. Don't choose anything. 2. Click Select button 3. In the popup dialog, click No button.
Delete categories
Select the categories you want to delete. The button Actions with category groups will be active. Click on it, and select Delete categories. Then, in a popup dialog, click Yes button.
Single category editing
To edit the single category, just click on its name and then on the Edit category button .
Non-Online store categories
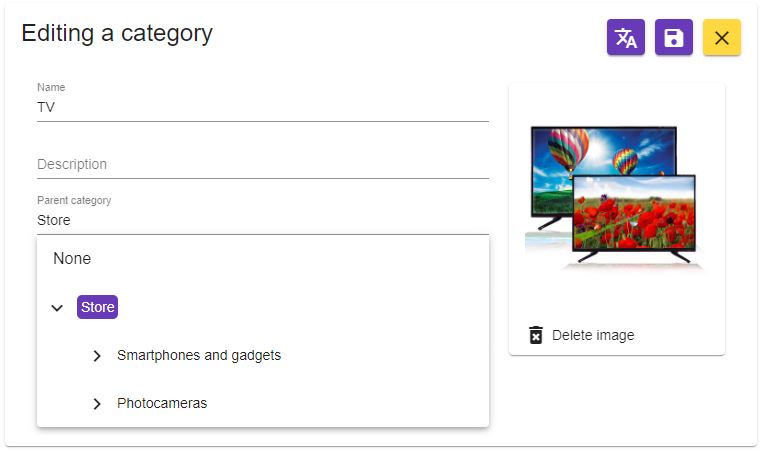
If it is not an online store category, the edit window will look like this:

Here you can edit the name and description of this category, as well as select a category image.
In the Parent category field you can choose the parent category of current category. If you want to make this category as a root category, select "None" in the top of dropdown list:
Online store categories
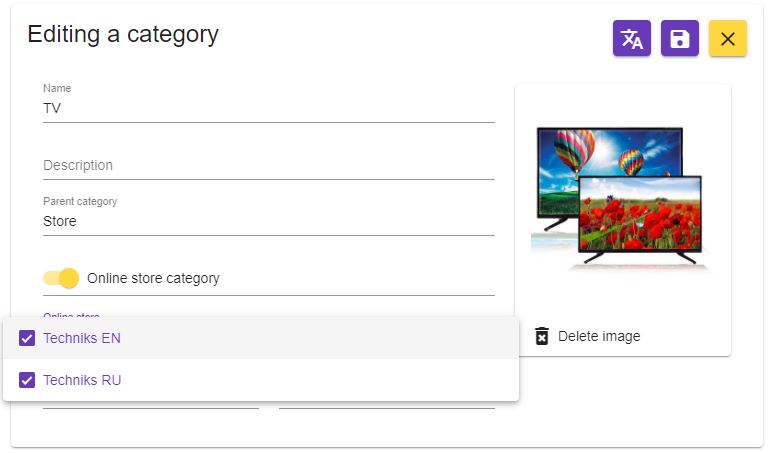
Swith on the Online store category selector to turn this category into a WooCommerce online store category.
After marking category as a store category an additional fields are become to visible: Online store, Slug and Display.
In the Online store field you can choose one or more online stores where this category and its products will be displayed:
The Slug field - the URL-friendly version of the name of this category in a browser address string. This is an optional field.
The Display field select what should internet-store display if this category will be selected:
- Default - uses your theme’s default
- Products - display only products
- Subcategories - display only products
- Both will display subcategories and products below that
Also, you can select the image of your category. Click this icon  and select the image in the opened window.
If the selected image is not opened to an external access, it will be marked by a red icon like this:
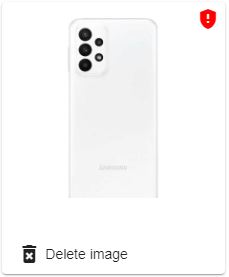
In this case the image won't be sent to the internet store. If you want to make it as opened to the external access, click to this red icon, and in the opened file card turn on the External access switcher, then save file card.
To delete the image click "Delete image" icon.
Translation of category
If you have an Online-store document with a language code other than the default language code in your Company's document settings, you will be able to translate this category into that language. Click on the Translation mode button ![]() and you will be in translation mode:
and you will be in translation mode:
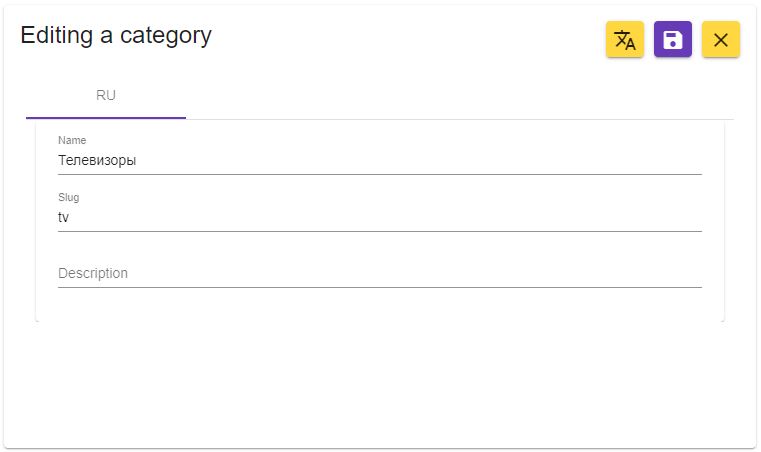
Select the desired language for translation in the top tab bar, and then input the translated name, slug (optional) and description.
To go out of the translation mode just click on the Translation mode button again.