Online-stores connection
With the Online-store connection document you can describe one or more online stores that can be connected to DokioCRM account. You can create and connect to one DokioCRM account as many online stores as you need, considering the technical capabilities of your server.
DokioCRM supports the multilingual online stores. For each language you should create the different document Online-store connection.
To create new online store connection document, click Settings -> Online-stores (connections) -> Create button. For the right functionality of the online store work, please, fill all fields marked with a red asterisk. An example of a correctly completed document displayed below:
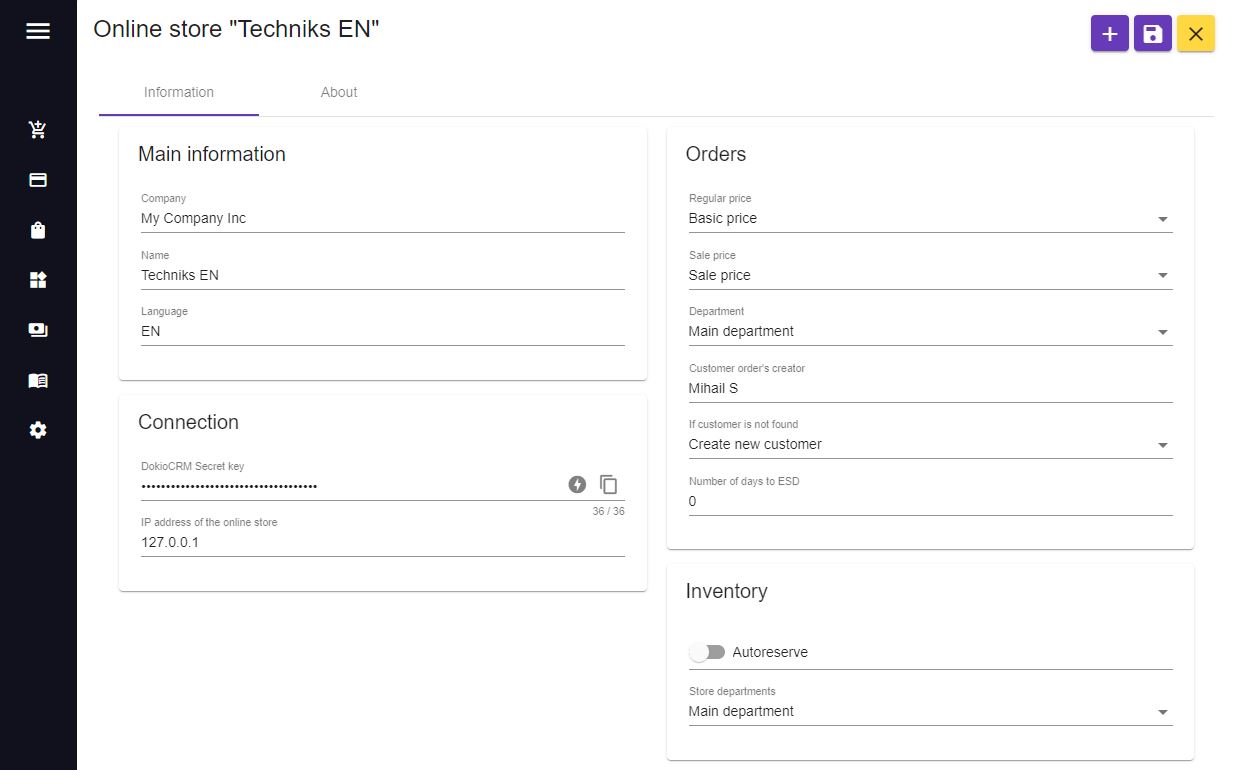
Main section
Company - the company that this Online store connection belongs to. It is not editable if the Onlone-store connection document is already created.
Name - the name of online store connection.
Language - the language code of online store. It must consists of two letters, for example: EN, ES, PG ...
This field is used for taking correct translation of categories, attributes and product for this online store.
Connection section
DokioCRM secret key This field store the secret key, by which the DokioStore plugin can find your company and all its data. This key needs to be inserted to the DokioStore plugin. To generate new key click Generate secret key icon  . The generated key seems like password phrase, as a black dots. Then click Copy to clipboard icon
  to paste it into the DokioStore plugin. Fill in this field only if you want to connect online store manually. If you use DokioCRM in SaaS mode and will order the site with online store that hosted on DokioCRM hosting, this field will filled automatically.
IP address of the online store. Besides of secret key, DokioCRM also check the IP address of calling queries. So, you should put here IP address of your online store. See the manual of the DokioStore plugin (the Test connection function) to check the correctness of inserted IP address and the secret key. Fill in this field only if you want to connect online store manually. If you use DokioCRM in SaaS mode and will order the site with online store that hosted on DokioCRM hosting, this field will filled automatically.
Orders section
Regular price - select the price type that will be responsible for the regular price in the online store.
Sale price - select the price type that will be responsible for the sale price in the online store. Both of these prices can't be the same.
Department - Main department in "Customer's order" document for online store orders.
Customer order's creator - the creator by default of created in online store Customers orders. It can be one of registered users of your company. Input some letters of its name and select the user from the select list.
If customer not found When the order comes from online store, DokioCRM tries to find the customer in the data base by the e-mail or the telephone number. If the customer is found, the order will be created on its name. But if not - here you can select what to do: 1. Create new customer or 2. Use the existed customer as default. If you choose the second option - you should select this default customer below, in the Customer on default field.
Customer on default the customer, in whose name the online store orders will be created in case the customer is not found (see the previous field).
Number of days to ESD the number of days to the estimate shipment date. After this date the order will be considered overdue.
Inventory section
Autoreserve - switch this field on for the products are automatically reserved when an order is received.
Store department The availability of products in the online store will be determined based on the total number of unreserved products in these departments.
Don't forget to click Save button  , to save all company information.
Online-store hosting
This section available only in SaaS mode, and only if your service provider provides you with website hosting service.
In this section you can add the site, do monitoring the information about it, and delete the site.
Adding the site
If this online store connection has no the site, this section will be like this:
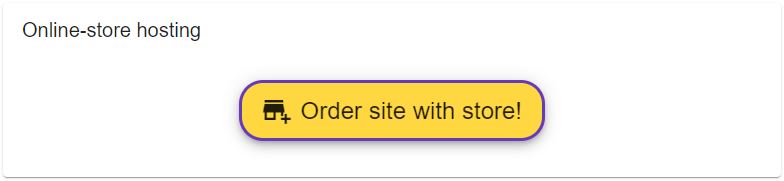
To add the site:
1. Click on the button "Order the site with store". You will see the Online store ordering dialog with the hosting agreement text:

2. Please read this agreement completely. If you agree, click on the checkbox "I agree". Then the button "Next" will be available. Click on it.
3. At the next stage input the site URL. Note that at first the site will be accessible with a system-generated name.
It will be available at your choosen name within 24h. 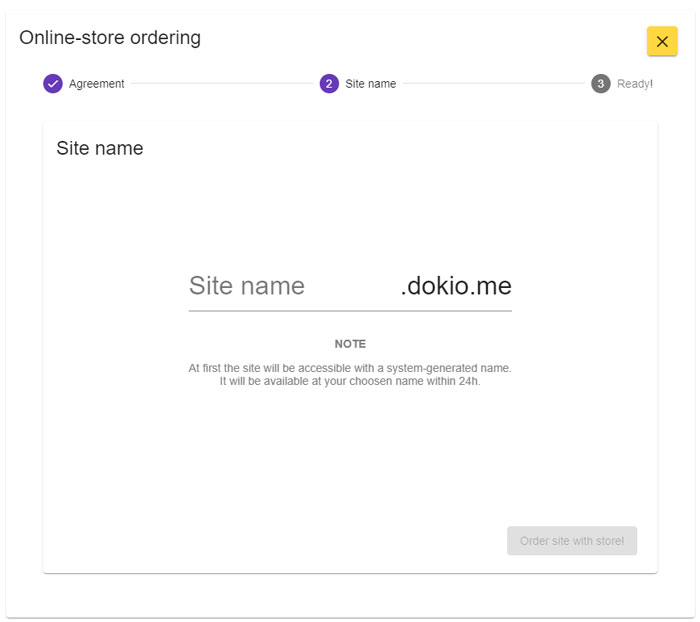
Then the button "Order site with store!" will be available. Click on it.
3. In some seconds you'll get your WordPress site with WooCommerce online store!
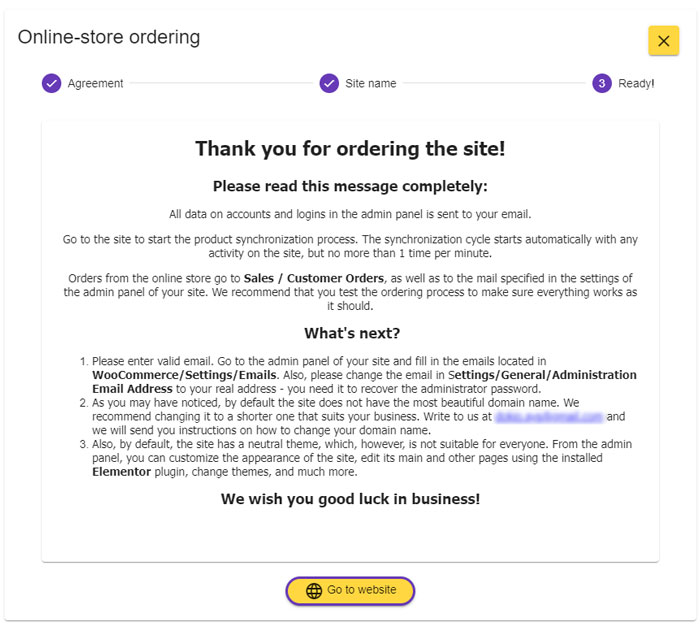
You can go to your site by clicking "Go to website" button. All information about your site will be sent to your email.
Site info monitoring
If this online store connection has the site, the Online-store hosting section will looks like this:
Click on the expansion panel with the site domain name to expand it:

Site address - the address ofyour site
Panel domain - the address of control panel
Ordered at - the date and time when site was ordered
Distributed at - the date and time when site was given to you
Query to remove - whether there was a request for deletion
Removed - is the site removed? (available only if was query to remove, but the site still not removed)
Removed at - the date and time when site was removed (available only if site removed)
Removing the site
If you want to remove your site, click on "Delete" in Query to remove field. Then in the in confirmation dialog click "Yes". The site remove query will be sent to the email of main acount. Site will be removed only after confirmation from the email of main acount.